Bids dashboard (RFP rendering type)
Managing and monitoring the Bids made on the platform when RFP Bundle is activated.
Path: Dashboard > Bids
Definition
Users can monitor their proposal statuses and evolution through their user dashboard.
WHO CAN USE THIS FEATURE?
Logged in askers
Logged in offerors
Create a bid
The process is described in detail in the following documentation: Listing deposit (RFP rendering type)
Read a bid request
The “Bids” section in the user dashboard displays all proposals emitted or received (depending on the user’s role) as preview cards (figure 1).
Each card displays:
The bid status
The bid ID
The RFP title
The dates when the service can take place
The location at which the service will take place
The offeror name
The asker name
“Show bid” to see the details of the bid.
To view the bid details, click “Show bid”, in which askers can (figure 2):
Accept the bid
Request a negotiation,
Decline the bid, it will automatically decline the offer and the request for proposal will still be available
Update the bid
To update a bid, the asker can either accept, request negotiation or decline the bid.
Accept the bid
The checkout overview page is the first page displayed to users after clicking the “Accept” button. The checkout overview is visually split into two sections:
The right section
The left section
The left section
Date & location
This block is a summary of the dates of the services and the location.
The price
The price block (figure 4) displays the amount set by the offeror for the service he will perform.

Platform service fees block
The platform service fees block (figure 5) informs the users of the fees taken by the platform. The displayed fees depend on the platform administrator’s configuration.
Total price
The total price block (figure 6) indicates the booking’s total price.
Fees and taxes are included

Message
A message block (figure 7) is available and allows users to leave a message and attach files to the offeror.
The user needs to accept the platform terms & conditions by checking on the checkbox (figure 8).
To confirm the booking request, the user then clicks “Continue >” (figure 9) which will redirect him to the payment page.
The right section
On the right-hand side of the page, the booking-related asker’s information (figure 10) is displayed in a dedicated information block.
The payment page
“No amounts will be charged until your bid request is accepted. Additionally, the platform will hold the amount paid until the service is rendered.”
On this page, the user chooses first of all his payment method:
By credit card
By a bank wire transfer
Credit card payment
To select payment by credit card, the user clicks the credit card block (figure 11).
The user then enters his payment information:
credit card number
expiration date
CVC
The credit card payment is done before the service is provided. However, the amount will not be debited until the offeror has accepted the booking request. The payment to the offeror is done once the service has been completed.
The user is then redirected to the confirmation page.
Bankwire payment
To select payment by bank wire transfer, the user clicks the bank wire transfer block (figure 12).
The user makes the bank wire transfer once the offeror has accepted the booking request.
The user is then redirected to the confirmation page.
The confirmation page
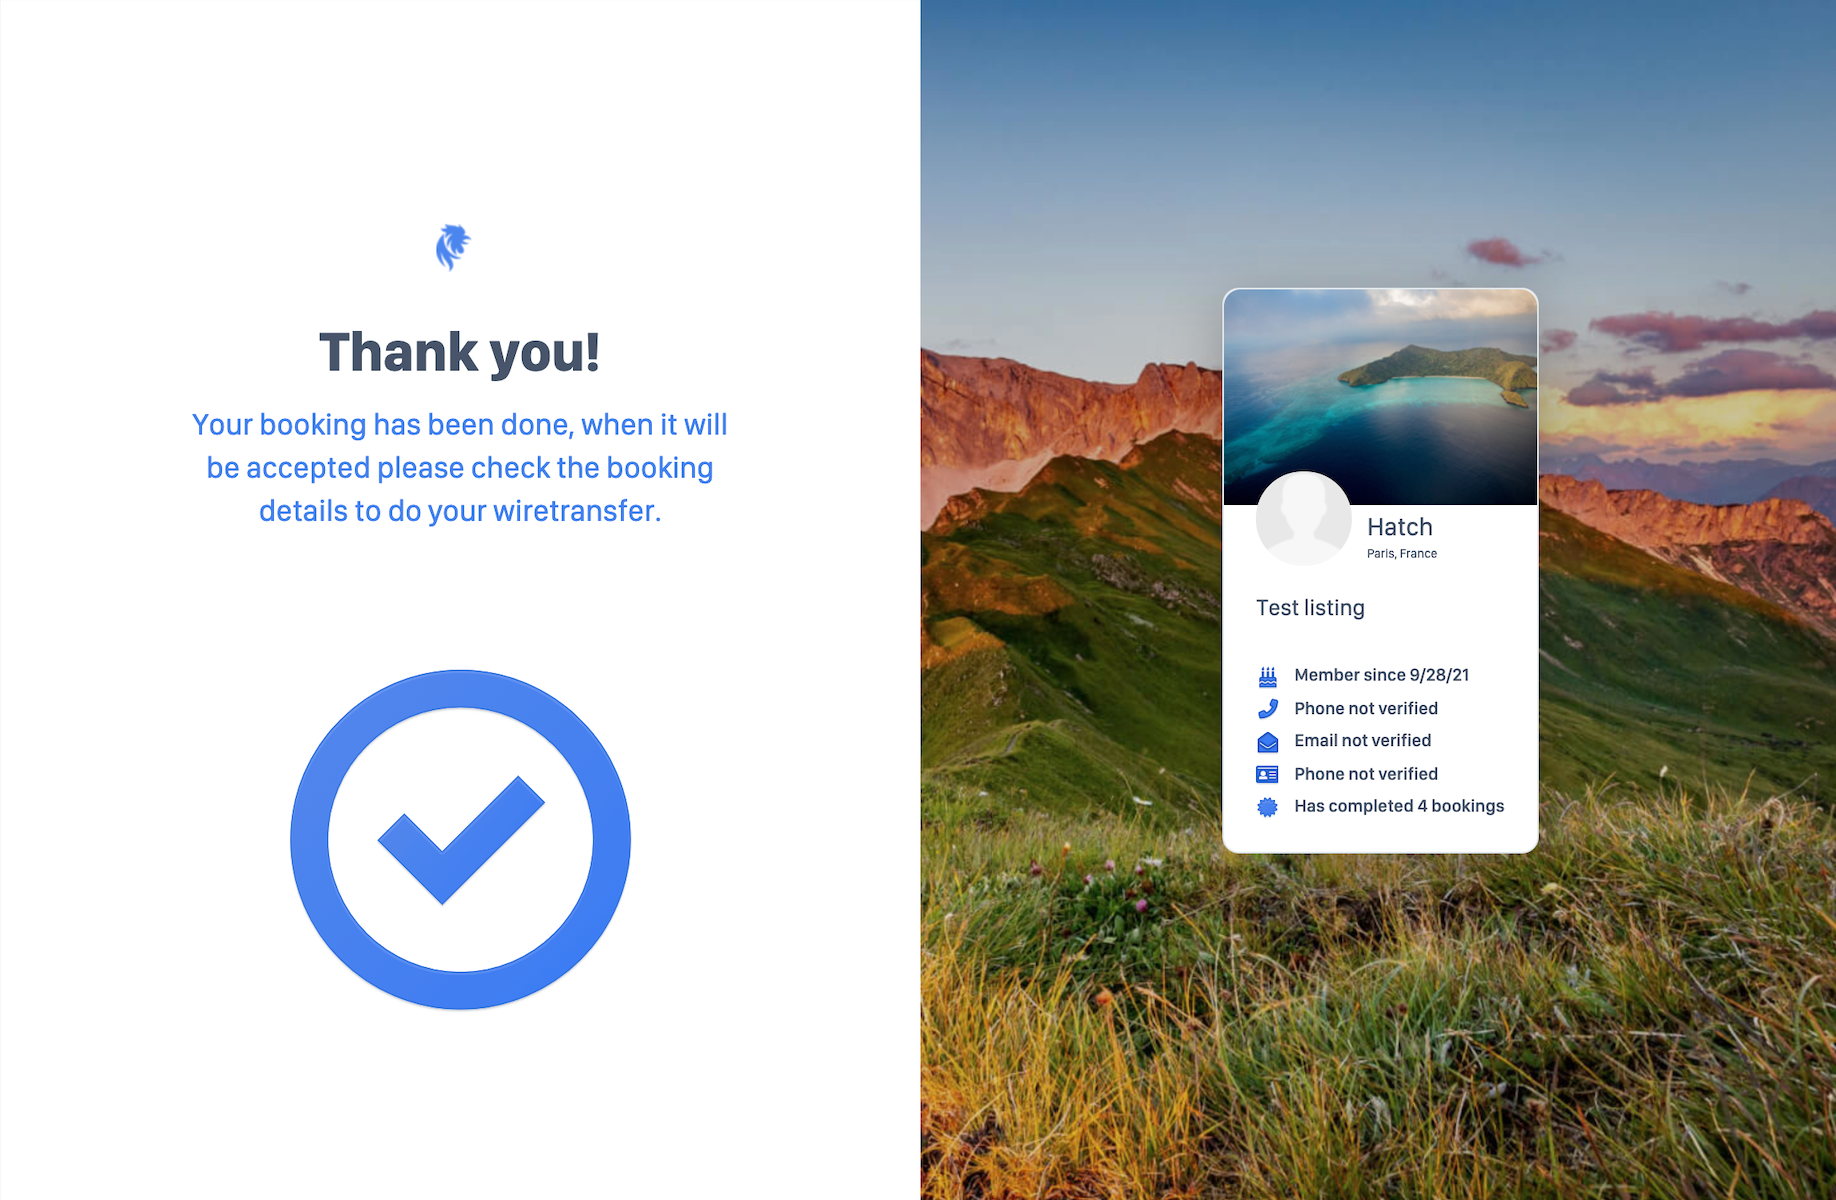
The confirmation page (figure 13) confirms the bid has been successfully accepted and payment has been made. This ends the bid confirmation process.
The offeror then receives an alert for an accepted bid.
The user is then automatically redirected to his platform dashboard.

To close a bid’s workflow, the asker must indicate through the platform that the service is done. This allows the offeror to be paid.
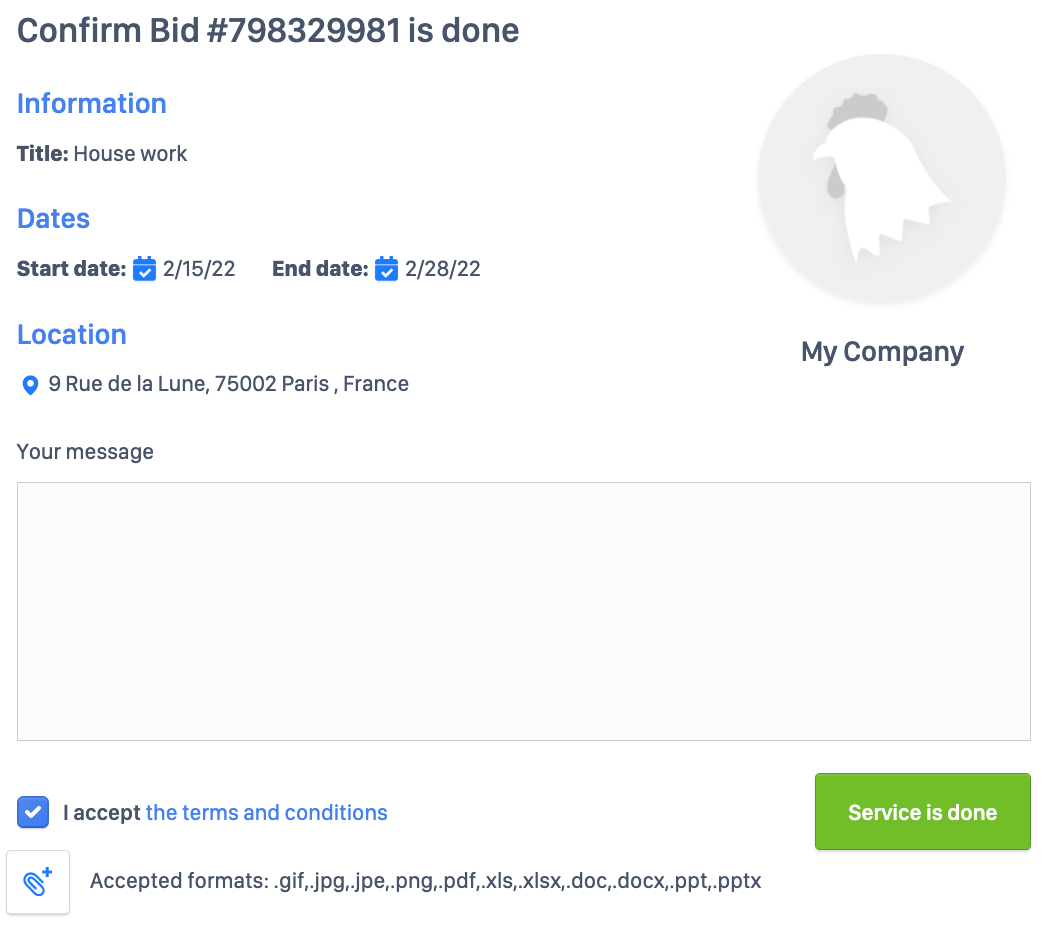
On the bid details page, click “Service is done” (figure 14). A pop-up window opens (figure 15) prompting the asker to leave a comment and/or check the terms and conditions. Click “Service is done” to confirm the end of the bid and to pay the offeror.

Request negotiation
Clicking “Request negotiation” opens a pop-up window, prompting the asker to leave a message and check the terms and conditions. Click “Send the request” to validate the negotiation request.
The bid status remains pending.
The offeror can either propose a new bid or decline the negotiation (figure 17).

Propose a new bid
Clicking “Propose new bid” (figure 17) asker’s action.
Decline negotiation
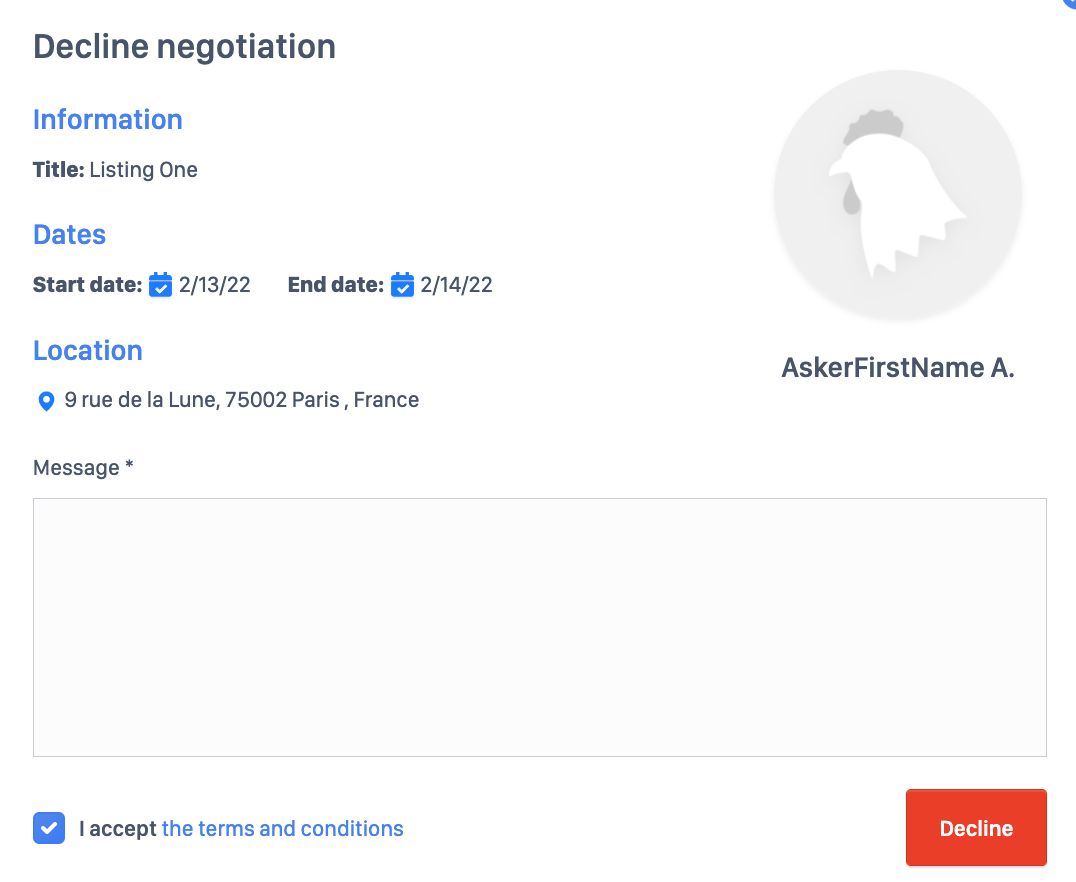
Clicking “Decline negotiation” (figure 17) opens a pop-up window prompting the user to leave a message and to check the terms and conditions. Click “Decline” (figure 18) to validate the negotiation refusal.

The asker is notified in the bid detailed page grey banner (figure 19) that the offeror won’t send a new bid offer. The asker can hence either accept or decline the current offer.
Delete a bid
Users cannot delete bids but they can decline them.
Click “Decline a bid” to open a pop-up window displaying the bid summary. The asker can leave a message and check the terms and conditions. Click “Decline this bid” to decline the bid.
Related resources
Front:
Business rules:
Last updated
Was this helpful?