> For the complete documentation index, see [llms.txt](https://features.scnd.com/llms.txt). Markdown versions of documentation pages are available by appending `.md` to page URLs; this page is available as [Markdown](https://features.scnd.com/v2.0/superadmin/oauth.md).
# OAuth
Managing external clients (apps) that need access to your platform (via APIs)
{% hint style="info" %} Path: SBO > OAuth > Authorized apps
{% endhint %}
* [Definition](#id-1.16.x-oauth-definition)
* [Create an authorized app](#id-1.16.x-oauth-createanauthorizedapp)
* [Read the authorized app interface](#id-1.16.x-oauth-readtheauthorizedappinterface)
* [Summary](#id-1.16.x-oauth-summary)
* [Update an Authorized App](#id-1.16.x-oauth-updateanauthorizedapp)
* [Delete an Authorized App](#id-1.16.x-oauth-deleteanauthorizedapp)
* [Related resources](https://features.scnd.com/v2.0/superadmin/pages/g6wqEltgfWctzeYiRQIK#id-1.14.x-bookingsdashboard-basicsolution-relatedresources)
## Definition
Authorized apps are mostly used by developers.
An API allows a platform to communicate with a third-party system in the backend.
OAuth is used to give access to a third-party system, like this I will be able to use the third-party system to update my platform or vice versa.
WHO CAN USE THIS FEATURE?
Logged super-administrator
## Create an authorized app
Click “Register a new application” (figure 1)
Figure 1
It will open the “Register a new OAuth application” page and the super-administrator will have to fill:
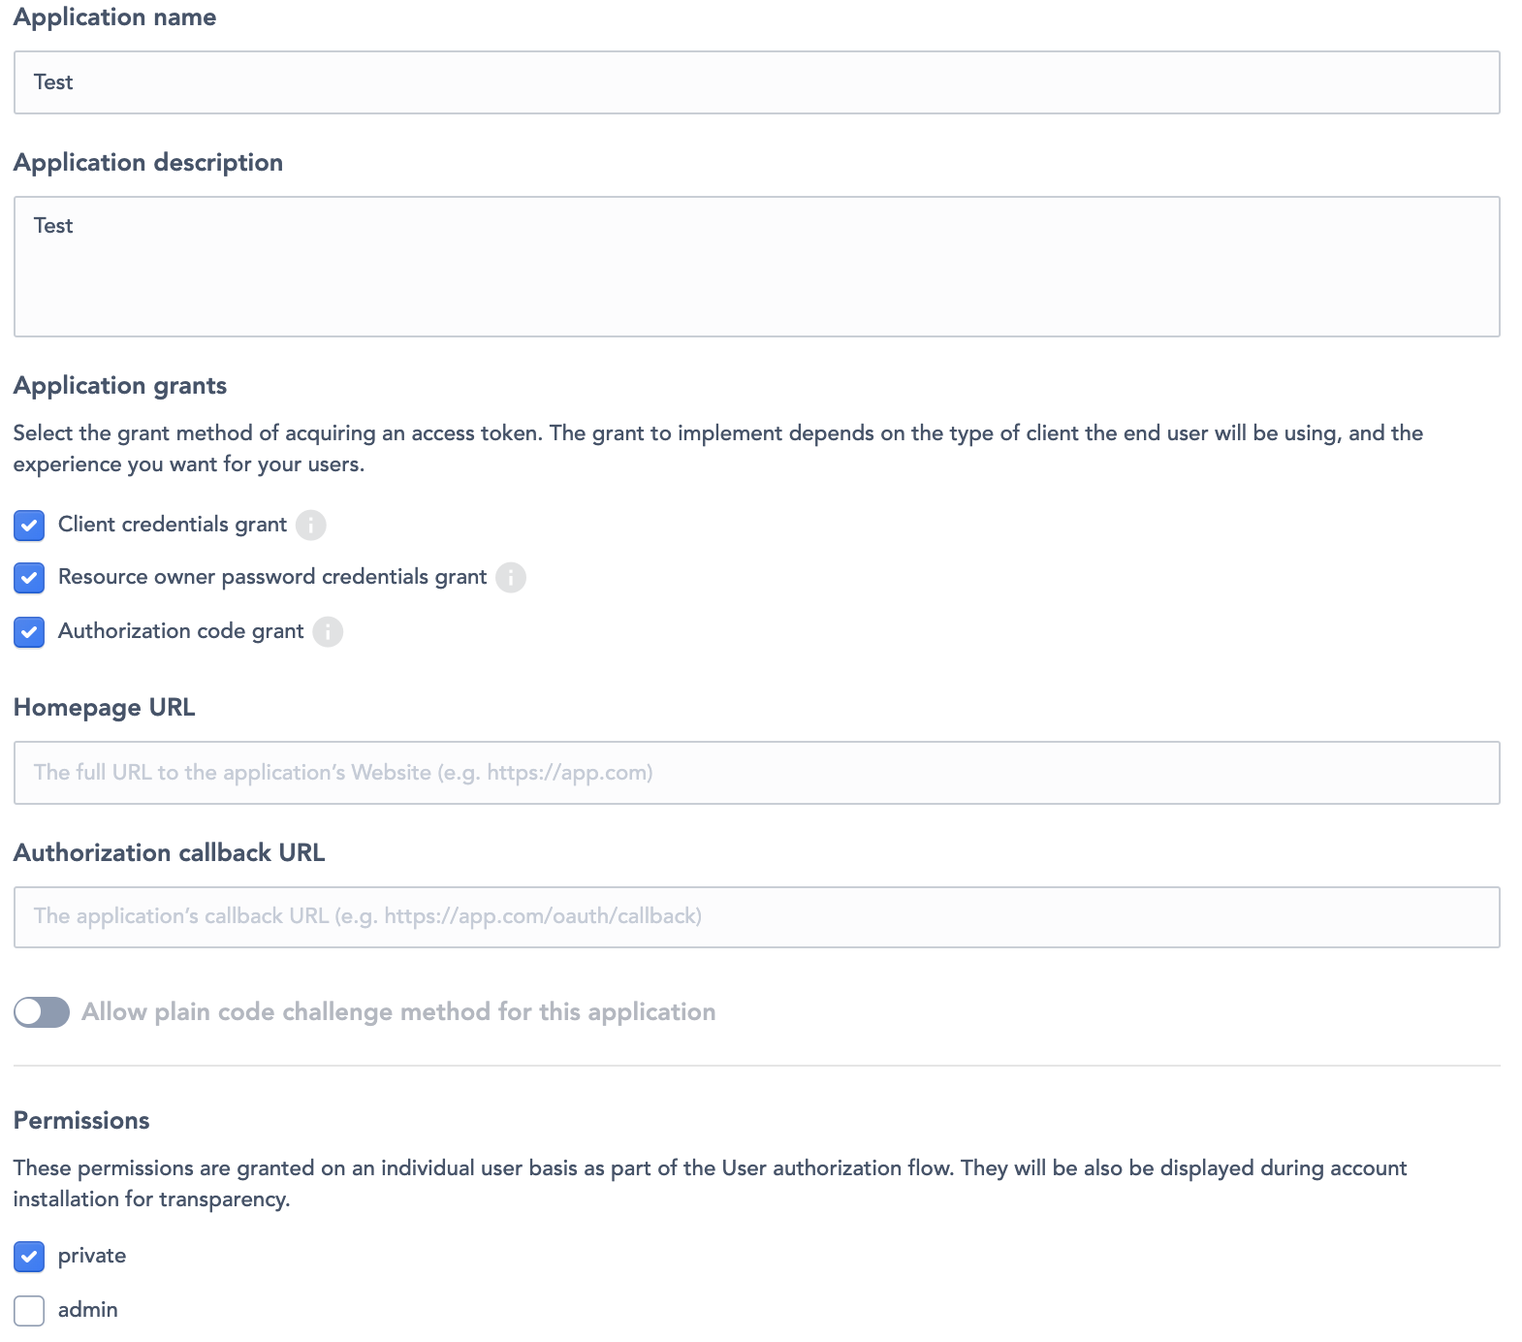
* The application name (figure 2)
Figure 2
* The application description field (figure 3)
Figure 3
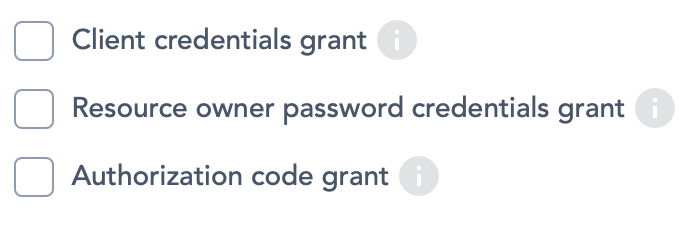
* The application’s grants (figure 4), by ticking checkboxes:
* Client credentials grant
* Resource owner password credentials grant
* Authorization code grant
Figure 4
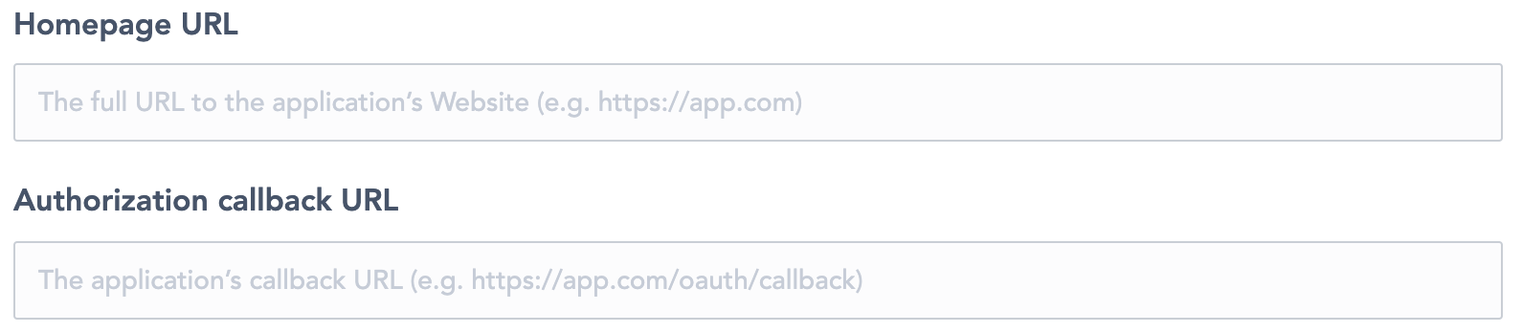
By ticking the “Authorization code grant” checkbox, the super-administrator will have to fill:
* The homepage URL of the third party system (figure 5)
* The authorization callback URL of the third party system (figure 5)
Figure 5
The super-administrator can allow the plain code challenge method for this application by activating the switch button (figure 6).
Figure 6
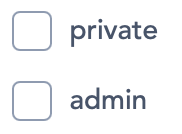
* The permissions (figure 7), by ticking the checkboxes:
* private: the client app will have access to all frontend endpoints where is required a user auth
* admin: the client app will have access to all backend endpoints where is required a user (admin) auth
Figure 7
Once the super-administrator has filled in all the fields, he can click “Register application” (figure 8), on the right side card to save the changes.
Figure 8
## Read the authorized app interface
Once registered the new application will generate the OAuth client information.
The first card will show the:
* The Client ID (figure 9)
Figure 9
* The Client Secret key (figure 10)
Figure 10
They are automatically generated by the platform. It is a unique one-time-use access token.
In the second card, the super-administrator will see all information that has been previously filled in:
* The application name and description (figure 11)
* The application’s grants (figure 11):
* The client’s credentials grant is for machine-to-machine authentication (the client app is a server), and apps will access the Second API endpoints that don’t require user permissions.
* Resource owner password credentials grant is for trusted client apps. For example, a Second native mobile app that also requests the username/password to the user (login).
For these two grants, the client app will exchange its ID and Secret with the OAuth Provider (Second) by a token that it will use to make all API requests.
* Authorization code grant is where before making any API request, the user is redirected to the OAuth Provider (Second) to allow or deny the requested permissions from this client app. The user will see the app name, description, a link to the client app website, and the requested permissions the user will grant to the app (private, admin). After the user allows or denies it, it will be redirected to the client website again (this is the auth callback URL configured). With that response, this app will handle the access to Second’s API on behalf of the user.
The “plain code challenge method” (figure 11) is a security value the client app will provide to mitigate some attacks. It can be plain text or encrypted. Some client app doesn’t support the extension needed to generate this encrypted value, so we have this option for this kind of incompatibility.
The permission is chosen (figure 11), private or admin.
Figure 11
### Summary
To achieve a connexion between the platform and third-party apps (the client website), the third-party app needs to be registered (beforehand) in the OAuth provider (Facebook, Google, or Second in our case).\
It is mainly to gather information about :
* This client app (name, description)
* The grants this app will have (client credentials, password credentials and authorization code)
* The permissions this app will request to the user (e.g. access to your address, email, etc.)
After registration, the app will receive a Client ID and a Client Secret (generated by Second) to authenticate the client app. These two data are the username/password for apps.
***
## Update an Authorized App
* UpdatetThe Client ID by clicking “Revoke all user tokens” (figure 12) on the first card. Once the super-administrator clicks it, a modal appears to warn him that this manipulation is not reversible.
Figure 12
* Update the Client Secret by clicking “Reset client secret” (figure 13), once again, a modal will appear to warn the super-administrator about this manipulation.
Figure 13
The information about the register app can be updated the same way it has been created.\
Click “Update application” (figure 14), on the right side card, to save the changes.
Figure 14
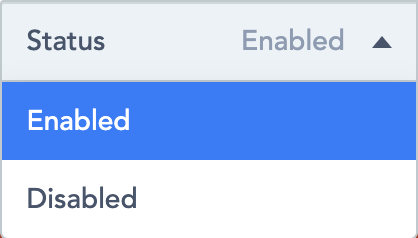
* Enabled means the OAuth client has access to the information requested on the Second platform
* Disabled means the OAuth client has no more access
Figure 15
## Delete an Authorized App
Delete the application registered by clicking “Delete application” (figure 16) on the right side card.
Figure 16
A modal will appear to acknowledge the action. Confirm the choice or cancel it.
## Related resources
*No related resources.*
---
# Agent Instructions
This documentation is published with GitBook. GitBook is the documentation platform designed so that both humans and AI agents can read, navigate, and reason over technical content effectively. Learn more at gitbook.com.
## Querying This Documentation
If you need additional information that is not directly available in this page, you can query the documentation by asking a question.
Perform an HTTP GET request on the following URL with the `ask` and `goal` query parameters:
```
GET https://features.scnd.com/v2.0/superadmin/oauth.md?ask=&goal=
```
`ask` is the immediate question: it should be specific, self-contained, and written in natural language.
`goal` is what the user is ultimately trying to achieve, the reason they need the answer. Sharing it helps GitBook give you a better, more relevant answer. A goal is most helpful when it describes the outcome the user wants rather than restating the question. For example, with `ask=how do I create an API token`, a goal like `automate deployments from our CI pipeline` lets GitBook tailor the answer to that use case.
The response will contain a direct answer to the question and relevant excerpts and sources from the documentation.
Use this mechanism when the answer is not explicitly present in the current page, you need clarification or additional context, or you want to retrieve related documentation sections.