Setting up Third Party API accounts
This page may become outdated as third parties update their solutions.
Obtaining a Google Maps API key
Login with Gmail account
Create a new project
On the page that appears, click on "API and authentication" > "API"
Find and add the following APIs:
Google Maps JavaScript API
Google Places API Web Service
Google Maps Geocoding API
Google Maps Distance Matrix API
YouTube Data API
Click on the name of each API
In the new page, click on "Activate API"
Click on "Credentials" (nav bar on the left)
Click on "Create credentials" > "API key" in the popin
Click on the name of the API then in "Restrictions relating to applications"
Select "HTTP Referrers (websites)
Accept requests from these HTTP referrers (websites)
Add the domain of your platform. Ex: *.second.com/* (do not forget the *)
Copy the API key into
second_geo_google_place_api_key
Click on "Create identifiers" > "API key" > name it "Server key"
Copy the API key into
second_geo_google_place_server_api_key
Enter your billing account at: https://console.developers.google.com/billing/linkedaccount
Obtaining an OpenExchangeRates API key
Signup on Open Exchange Rates
Click on App IDS menu
Click on Generate New App ID
Copy the key into
Microsoft Azure Translator API * (Obsolete)
Goto http://portal.azure.com with customer credentials
Click sur Nouveau (+)
Search Translator Text API
Click on API Traducteur de texte
Click on Create
Click on Subscribe to a subscription
Fill fields
Check in the account tab if you are in the default directory (in the top right corner). Otherwise, click on the last button "Default Directory."
Return to API Text Translator form
Fill fields:
Pricing level: F0
Resource group: project name
Click on dashboard > Translator api
Click on "This free trial version expires in x days."
Click on Opt for automatic conversion
Click on Automatically convert your essay
Click on Yes, I would like to perform the automatic conversion at the end of this trial
Click on register
Click on dashboard > Translator api > key
Copy the key in this way:
The Noun Project
Signup on https://thenounproject.com/
Create an app
Generate the API key
Copy the key into
Pexels
Signup on https://www.pexels.com/
Create an app
Generate the API key
Copy the key into
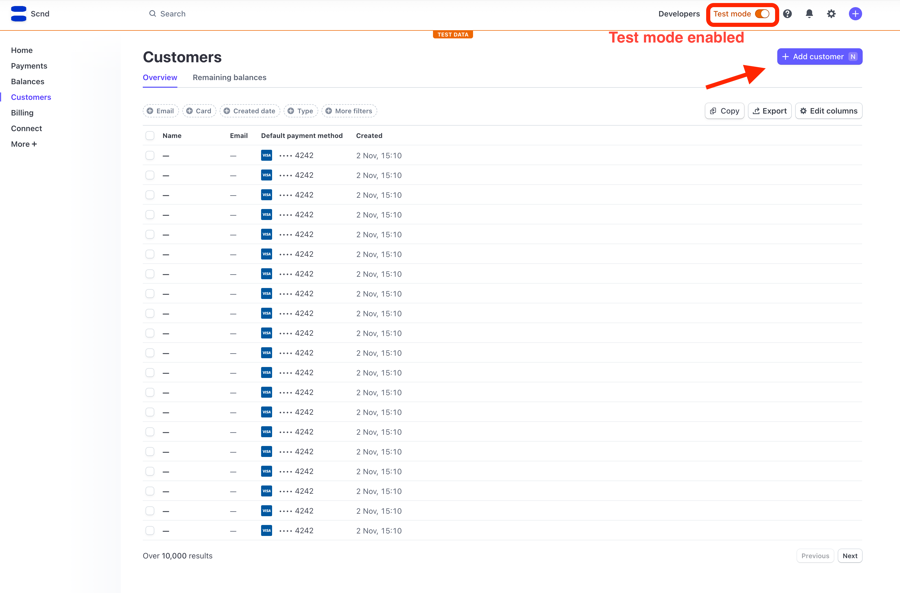
Stripe
Signup on https://stripe.com/
Follow the Stripe API keys guide
Copy the keys into
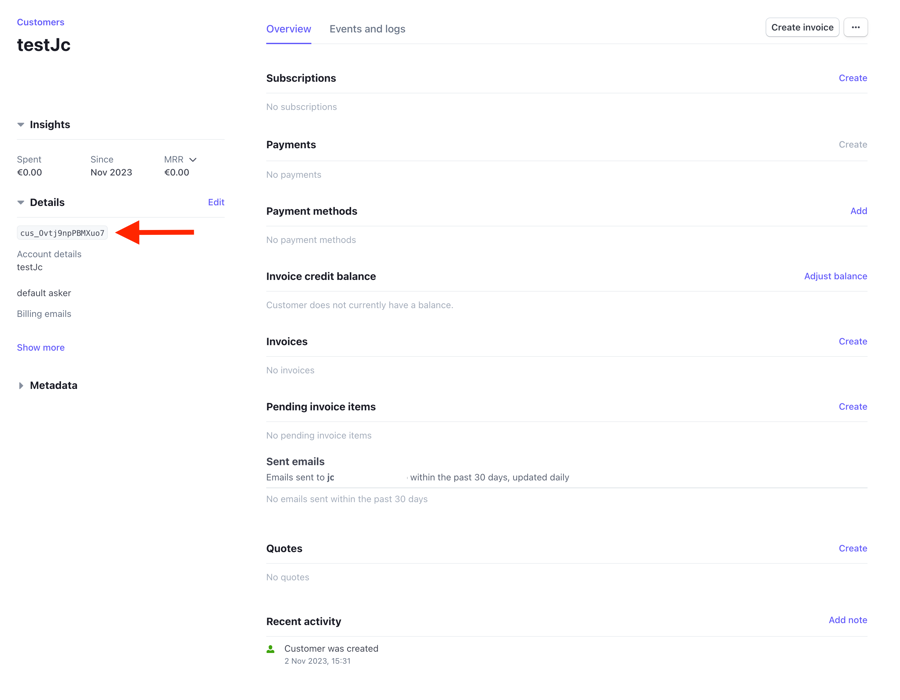
Create default user accounts & bank account (On Stripe dashboard)

Copy user account id

Fill default user accounts id & bank account ids using following env variables:
The following third api accounts are optional.
Mangopay
Create the Mangopay production account (https://hub.mangopay.com/user-registration ):
Choose :
Platform Type = Market place
Activate Pre-Authorisation
You will need the the "ClientId" and the "Passphrase" received after the creation of this account.
Authorize the use of the pre-authorization in production (https://docs.mangopay.com/api-references/card/pre-authorization/): Warning: by default, MANGOPAY sets a limit of 2500€ per transaction. If you wish to increase this limit, it is necessary to notify them at the creation of your account or later.
Contact [email protected] and ask them to authorize the use of the "PreAuthorization" object in production for the customer's Mangopay production account.
Copy the key into:
Facebook SSO
Go to https://developers.facebook.com/docs/apps/register)
The procedure for production is the same except that you have to start with step 2.
Go to the “My applications” menu > XXX Projects
Open the “XXX Projects” menu (top left)
Click on "Create a test application" (for development or testing) or "Create an application" (for production).
Enter the username:
XXX--dev (dev version)
XXX--Staging (test version)
[XXX]-Prod (production version)
Enter a contact email address.
On the Dashboard go further down the page to “Add a product”
Click on “Facebook Login” > “Start”
Click on “Settings” in the left menu under “Facebook Login”
Set the "Valid OAuth redirection URLs" depending on the environment and for each locale
https://xxx.io/en/oauth/fb-login(DO NOT PUT FROM/AT THE END OF THE URL)
https://xxx.io/fr/oauth/fb-login(DO NOT PUT FROM/AT THE END OF THE URL)
Click on '"Save Changes"
Go to 'Settings' at the top of the left menu, then "General."
Click on "'Add a Platform" > Website.
Enter "Site URL" (at the bottom): https://[domain]
Click on "Save Changes."
Enter the "App Domain:"
Click on "Save Changes."
Retrieve the values from the "App ID" and "App Secret" fields and copy them into:"
"Click on the menu in the top right on the "Disabled" switch to enable public sharing.
Go to the 'Roles' section in the left menu > 'Roles.'"
SMS OVH
If the SMS bundle is activated, create an SMS account with OVH Telecom:
Log in on https://www.ovh.com/manager/web/login/
Order SMS by clicking on Order' > 'SMS.
You have to wait a little before the order is effective and you can see the SMS account ID in your dashboard
Create API keys for the following script: https://eu.api.ovh.com/createToken/?GET=/sms/&GET=/sms/*&GET=/sms/*/jobs/&POST=/sms/*/jobs/&GET=/sms/*/outgoing/*&GET=/sms/*/incoming*&GET=/sms/*/incoming/*
Account ID or email address / password: the ovh account
Script name : Name of the project
Description: Name of the project
Validity: Unlimited
Copy the key into :
Here is the OVH SMS API doc:
Google Tag Manager
Log in to Google Tag Manager with the created Gmail account https://www.google.fr/tagmanager/
Create an account for the project
Define configuration container
enter the domain
select "web"
Go back to the account level
Save the content ID that was created (GTM-XXXXXX)
Publish the account (click on publish)
Copy the key into
Last updated
Was this helpful?