Edit a Listing (Flat-Rate)
Manage the services offers within a listing
processPath: Dashboard > Listing > Listing edition
Definition
Service Management on the Flat-Rate rendering type provides an overview of the available services within a listing, enabling efficient management and customization. Users can select from default services or create tailored services to meet specific requirements.
WHO CAN USE THIS FEATURE?
Switch: All users
Non-switch: Logged offerors
Create a Listing
Users can create a listing through the Front interface, by clicking the “Publish your listing”.
The process is described in the following article: Listing deposit (Flat-Rate rendering type)
Once at least one listing is created, a user can view all of his listings in the user dashboard’s Listing section.
Show a Listing
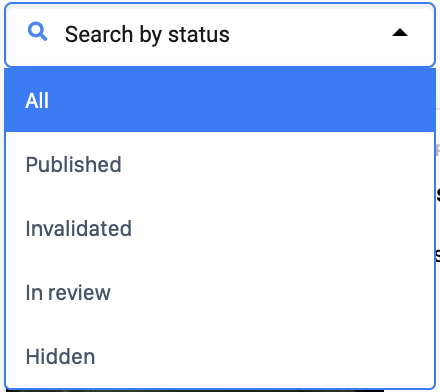
The user dashboard’s Listing section displays the list of all of his listings. These can be filtered by listing status (figure 1):
All: All listings
Published: Listings published on the platform
Invalidated: Listings declared as invalid by the administrator
In review: Listings being reviewed by authorized administrators, not publicly visible (only admins and the offeror can view the listing)
Hidden: Hidden listings, not publicly visible (only admins and the offeror can view the listing)
Each listing block displays:
The listing status
The listing media elements
The listing location
The listing title
The listing description
The listing price
The “Duplicate” button
The “Edit” button

Edit
Users can modify their listings' information through the “Edit” button located next to the “Duplicate” button.
Path: Dashboard > Listings > Listing # > Presentation
Editing a listing presents the listing information in several sections. At the top of each section is always displayed:
The title of the current listing.
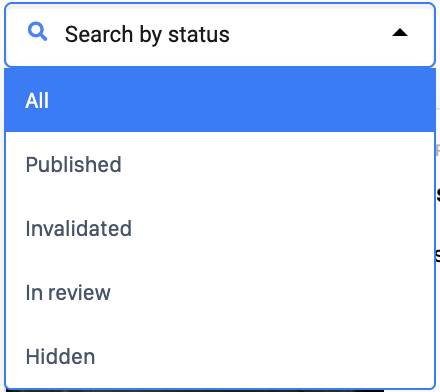
A status dropdown button to filter listings
The “Duplicate” button

The “View listing” button (figure 8) to visualize the listing’s public display.

Information banners (figure 9) to guide the user when required

Presentation
The Seat-Based Rendering type shares some initial configurations with the Time-Based Rendering type. For instructions on editing the first section, titled "Presentation," refer to the following link: Time-Based > Presentation.
Price & Conditions
Services
In this section (figure 3) of the dashboard, you will be able to see the service you offer within a listing.

Service card
For each service card (figure 4) you can see:
The dots for the drag and drop action
The slide button to activate or disable the service in your listing
The service title
The service price
The service duration
The pen icon allows you to edit the service card.
Service template card
The service template card (figure 5) is the service template administrator has already created on the platform.
To go quicker in adding a service you can use the service template by clicking the button “+ Use this template” (figure 6).
Adding or updating Services
To create/ add a service in your listing you can go on the Services section of the Price & conditions part of the listing dashboard and click the button “Add a service” (figure 1).
It will open a modal (figure 2) and you will have to fill:
The service title
The service description
The price
The category
The minimum and maximum orderable quantity
The duration
To save your modification, please click the button “Save” in the modal.

Delete a service
To delete a service in a listing, please follow this path:
Path: Dashboard > Listings > Listing > Edit Listing > Price & Conditions > Services > Service card > Edit service card > Delete
You will be able to delete a service by clicking the button “delete” (figure 8 ), in the edit modal of the service card.
There is no confirmation message, it is deleted directly
To create/ add a service to your listing you can go to the Services section of the Price & conditions part of the listing dashboard and click the button “Add a service”
If the subscription configuration is enabled in the application, the vendor has the option to create a new service subscription by selecting the desired service type.

The system displays the available service subscription options, allowing the vendor to select a pricing plan based on the chosen subscription frequency.

Click on Save to complete the process.
The process of updating a service subscription is the same as updating a one-shot service.
Delete a subscription service
To delete a subscription service in a listing, please follow this path:
Path: Dashboard > Listings > Listing > Edit Listing > Price & Conditions > Services > Subscription Service card > Edit service card > Delete
You will be able to delete a service by clicking the button “delete” (figure 8 ), in the edit modal of the service card.
To update a service already created, the user must click on the pen icon and update the information.

A modal will appear displaying the service information, allowing the vendor to modify and save the details as needed.

Upgrades
During the listing edition process, users have the option to add an upgrade to their listing. For detailed instructions on managing upgrades, refer to the Upgrade Management section.
Settings
Cancellation policy
Users can also manage their listing’s cancellation policy by choosing between a “Flexible” cancellation policy or a “Strict” policy (figure 21).
The default value is determined by the platform administrator through the "Cancellation Policy" configuration within the SBO.
Users can only select one of the two policies offered by the platform. The parameters of each policy are set by authorized platform administrators.

Discounts
Users can add discounts to their listing through the “Add a new discount” button.

Each discount is set in percentages based on a threshold to be defined.
The red trash icon deletes a media element.
There is no confirmation message when deleting a discount.

Calendar
Default listing availabilities are determined by the platform’s configuration. In most cases, platforms set listing calendars to be unavailable by default. To begin receiving booking requests, offerors must manually configure their availabilities.
Calendar
Users can change their listing’s availabilities through this calendar interface.
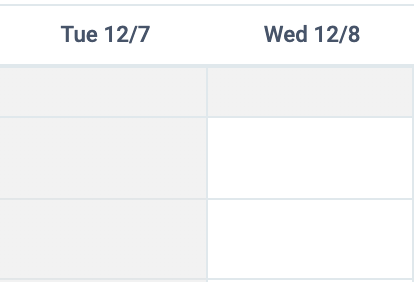
Greyed-out days are past dates and cannot be edited. White days are non-edited dates (figure 24.1).
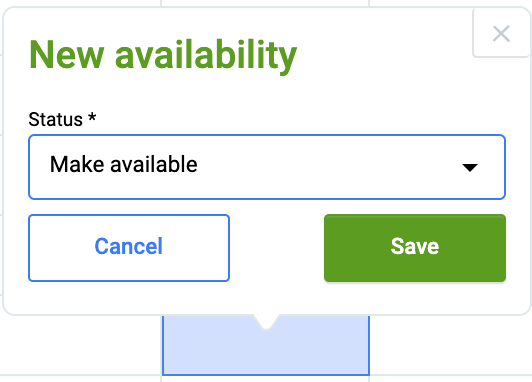
Clicking a date/time slot opens a pop-up window (figure 2.2) prompting the user to set availability for the selected period:
Make available: the date turns green (and depending on the platform’s configuration, a price (base or specific according to how prices were set) will be displayed)
Make unavailable: the date turns red
Users can also click and drag to select several dates/time slots to do bulk changes.
A “reset availabilities” button (Figure 24.3) is available at the top of the calendar block. This deletes all calendar settings and resets to default settings (usually a calendar with no availabilities).

Advanced
This advanced calendar tool allows users to quickly set their availabilities over large periods.
The parameters available are:
Status: “available” or “unavailable” (figure 25.1)

Date range with the start date and the end date (and hours depending on the platform’s configuration) (figure 25.2)

Weekdays to apply these changes to (figure 25.3)
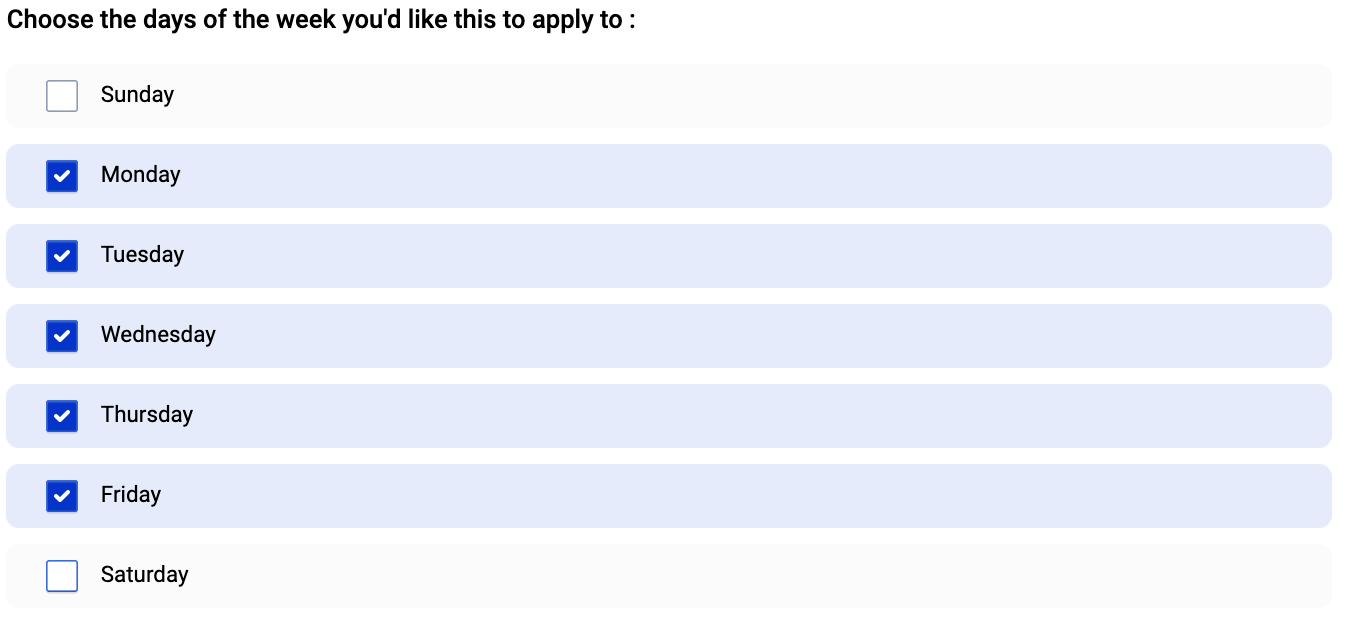
Click “Save” to save changes.
Synchronization
The synchronization tool helps users import an external agenda’s events into the on-platform agenda and turn them into unavailabilities. To do so, the user enters the external agenda’s URL (figure 26).

Click “Save” to save changes.
Learn more about calendar synchronization here: Calendar Sync Feature - Business Rules
Address
The “address” section manages the listing’s address (figure 27).
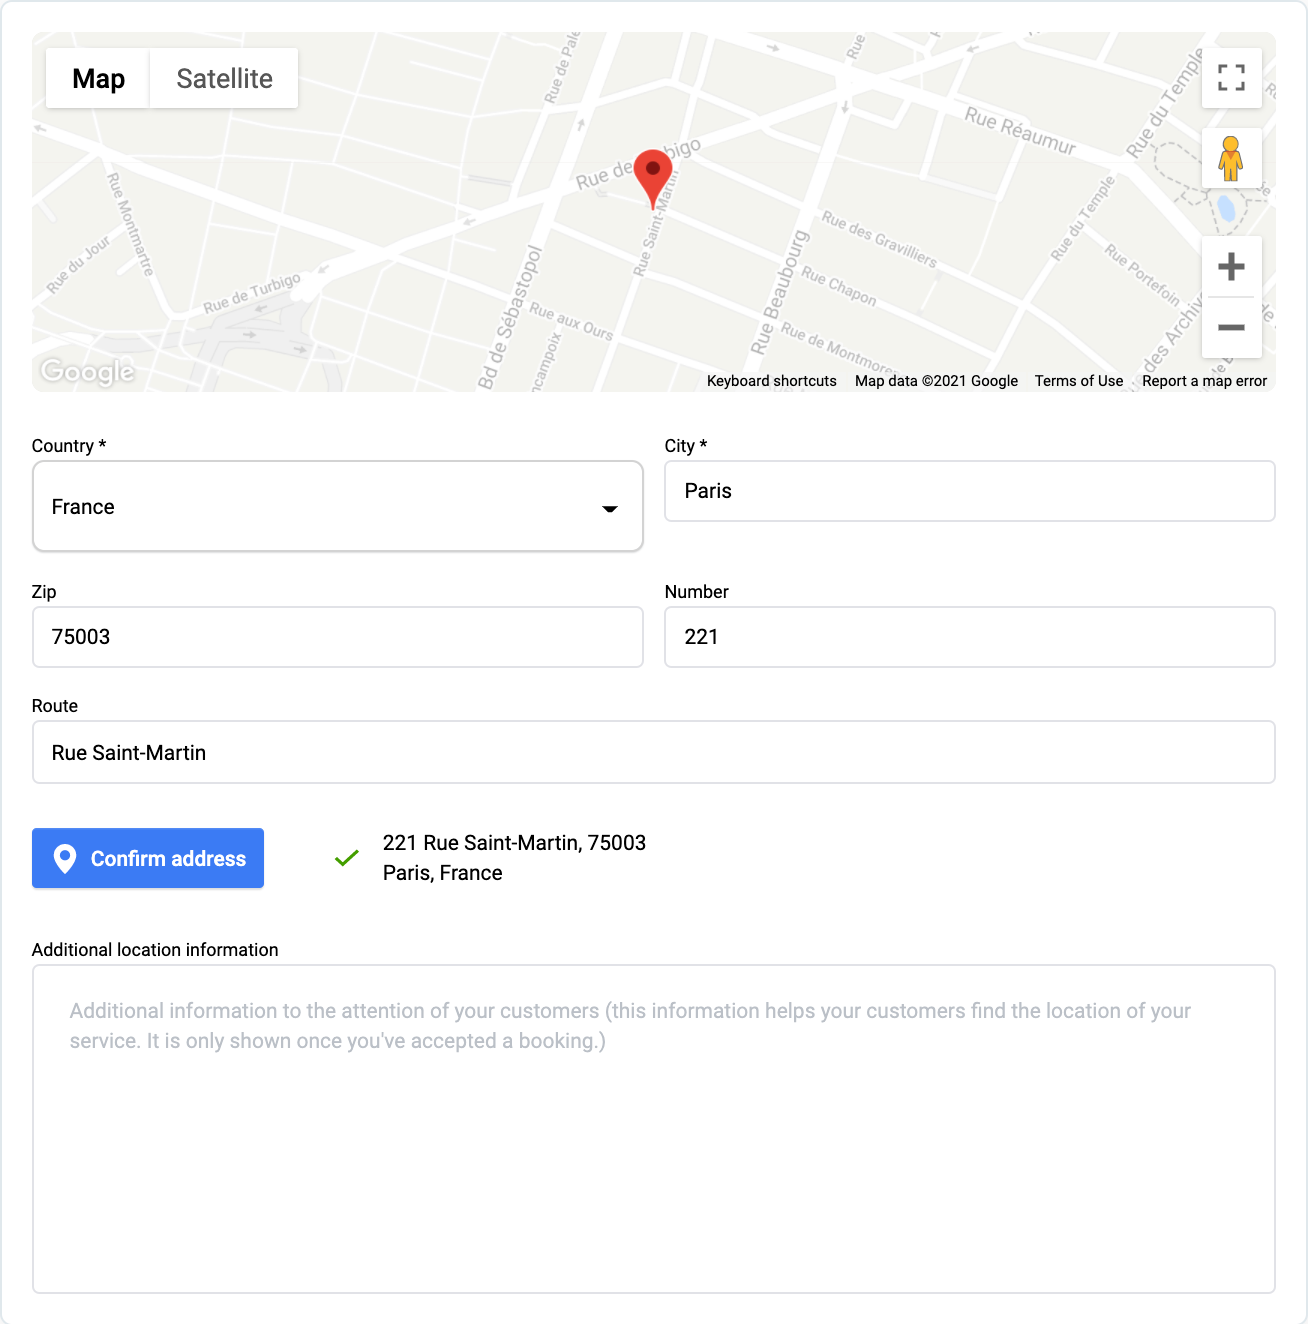
Confirm the address and click on “Save” to save changes.
Delete a listing
Users can delete listings through the listing status dropdown menu available throughout the listing edition sections (figure 28).
A confirmation message prompts the user to validate the deletion.

A deleted listing is no longer listed in the users' dashboard or search results. However, all related bookings, messages, and payments remain listed for history and tracking purposes.
Related resources
Business rules:
Last updated
Was this helpful?