Navigating the Backoffice
Understanding how to use the different Backoffice interface components
Path: Backoffice
WHO CAN USE THIS FEATURE?
Depending on the given rights and roles, users will view different sections of this interface.
Overview of the interface
Navigation bar
The navigation bar (navbar) is at the top of the page (figure 1)

The navbar is composed of:
Platform logo
Displays the platform logo which can be changed through the “Configurations” interface” (by default displays the Second logo).
Search field
The search field (figure 2) is displayed only on pages which offer items that are searchable (listings, bookings and users).
To perform a search, enter your query in the field and hit “Enter” on your keyboard.

Email icon
The email icon links to the general platform inbox. More on that here: Contact management
The icon will display an alert with the number of unread emails (if any): (figure 3).

User name & avatar
The user’s name and avatar (figure 4) are displayed on the right top corner of the page. They cannot be changed.
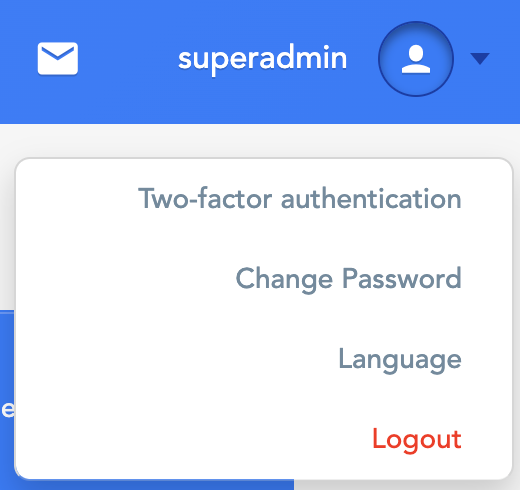
Clicking anywhere in that zone displays a dropdown menu (figure 5). It allows the user to:
Change their password
Change the interface language
Log out
Side menu
The menu (figure 6) is located on the left-hand side of the page. It enables navigation throughout the back office interface.

Sub-menus are grouped into a main-menus. Sub-menus are accessible by clicking on the main menu name, or by clicking the arrow next to the main menu. This will expand the sub-menus.
Minimize
The “minimize” button will collapse the left-hand sidebar menu, only showing each menu section icon.
By clicking on an icon, the menu expands back to its full presentation.
See my platform
The button “See my platform” will redirect the user to the platform’s front office.
Main body
The main body of the page will display different items depending on the information you are viewing.
Filters
The filters feature helps filter and sort items through different filtering and sorting options.
Date Range
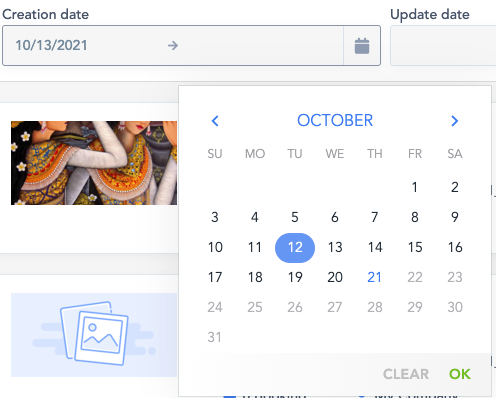
With the calendar filter feature, the items will be displayed within the selected date range (figure 7).

Fill in each date with the date picker. Click on a date field to display a selection calendar (figure 7.1). This calendar can be navigated with the left and right arrows. The chosen day will be highlighted with a blue circle.
This action should be performed for both the start date and end date.
Once the time and date are filled, click “Filter” (figure 7.2), and the results will be filtered following the selected values.

Sort
It is possible to sort items by:
The ‘Smart’ criteria will list the most relevant items for the admin.
Listings are displayed in the order defined below :
Listings who's status is "in Review", from the newest listing with that status to the oldest
All other listings except those with the status "Invalidated", from most recently updated to oldest
Listings who's status is "Invalidated", from most recently invalidated to oldest
Bookings are displayed in the order defined below :
Bookings who's start or end date is in the future, from nearest start date (which could be in the past) to farthest start date
All other bookings, from nearest start date to today to oldest start date
The ‘Creation date’ criteria will show the last created items to the latest ones.
The ‘Update date’ criteria will show the last listing items to the oldest ones.
Export
The “Exports” button (figure 7.3), exports the listing data from the back office to your computer.

By clicking the button, a list with file extensions will appear. Choose the format you want to use and it will automatically be saved into your computer. That file can be directly reviewed from your local environment.
The export feature will save the filter choice.
Display mode
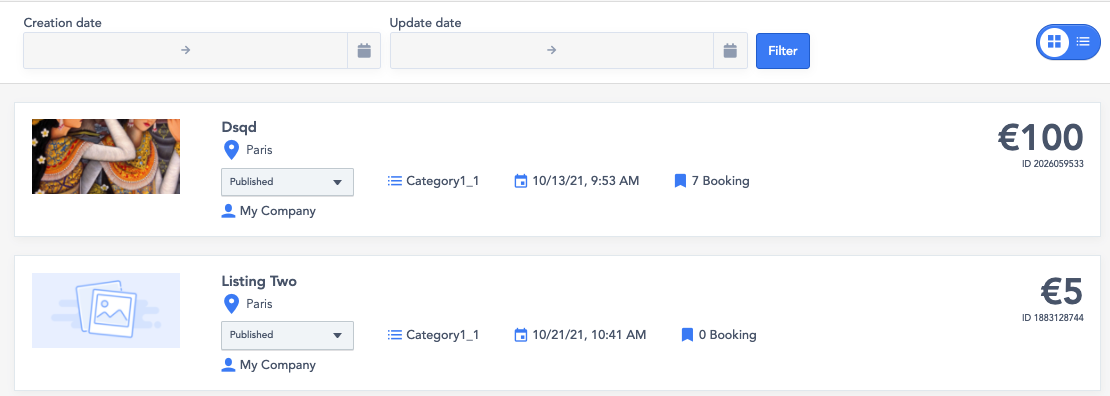
There are two display modes available on the back office. Modify the display with the switch button (figure 8)

Click the left side of the button to display the card mode (figure 8.1). Click the right side of the button to display the list mode (figure 8.2).

Result per page
The result per page button (figure 9) always is at the bottom of a page. This dropdown button allows choosing the number of items displayed per page. Choose between, 15, 50, or 100 items displayed on the current page.

Update the structure interface
The interface structure cannot be updated, except for the platform logo.
To update the logo platform please have a look at the following article: General - Platform’s logo
Delete the structure interface
Deletion of the interface structure isn’t possible.
Related resources
Backoffice:
General - Platform’s logo
Last updated
Was this helpful?