Front interface structure
Understanding how to use the different Front interface components
Path: Front
Definition
Several interface structure elements are available throughout the platform. These elements help make user navigation more fluid.
WHO CAN USE THIS FEATURE?
All users
Create an interface structure
New elements cannot be created from the platform’s Front interface.
Read an interface structure
Navigation bar
The navigation bar (navbar) is consistently located at the top of each page. It enables users to personalize their platform experience according to their specific goals. Depending on the selected preferences, the homepage adjusts to function either as a solution tailored for customers seeking services and service providers proposing their offerings (Figure 1) , or vendors searching for service and services proposals (Figure 2) .


When the configuration switch mode is not enabled by the operator, users are restricted to operating within the marketplace solely as either a customer or a vendor. This designation is determined at the time of registration.
The navbar is made up of:
The platform logo
The platform’s logo (figure 2) is visible to all users. Clicking the logo will redirect the user to the following page: Homepage

The login/register button or the user avatar
Login/register button
The login/register buttons (figure 3.1) are displayed when a user is not logged in to the platform. Once the user is logged in, the user’s avatar will be displayed instead.
Clicking one of the two buttons will open a modal to log in or register. This process is described in the following documentation: Log in & Register

The user avatar
The user’s avatar (figure 3.2), allows navigating through the dashboard menu quickly upon clicking it.

Platform mode
The platform's mode can be adjusted to align closely with user preferences within the marketplace. By selecting the "Become a customer"(Figure 4) button, the system automatically configures essential elements such as listing services and a customizable search bar tailored to the user's needs. Additionally, users have the option to post requests for proposals, enabling them to advertise services they seek or negotiate for the best possible deals.

On the opposite side is the "Become a Vendor" button (figure 4.1), designed to set up the marketplace with tools that help users manage their business activities within the platform. This feature enables vendors to create service listings and utilize additional resources for promoting and executing their services effectively across the marketplace.

The hamburger menu
The hamburger menu (figure 5.1) displays the content pages set by the administrator. The hamburger menu opens with a single click (figure 5.2 ).


Footer
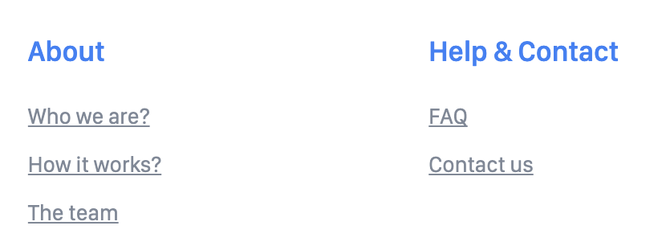
The footer displays institutional pages to users (figure 6). These pages are usually for information purposes.

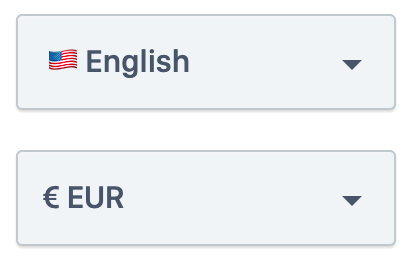
2 dropdown buttons (figure 6.1) are available on the left side of the footer:
Language selection, allows the user to select the platform language
Currency selection, enable the user to choose the display currency.
The display currency only changes the displayed prices. Payments are still made in the default platform currency set by the platform administrator.

Setting up the footer pages (figures 6.2 and 6.3) is described in the following documentation: Content page.


Update an interface structure
Header
Only the super-administrator can update the header content pages (figure 5.2). Instructions are provided here: Header menus
Footer
Only the super-administrator can update the footer content pages (figure 6.3). Instructions are provided here: Footer menus
Delete an interface structure
Header
Only the super-administrator can delete the header content pages (figure 5.2). Instructions are provided here: Header menus
Footer
Only the super-administrator can delete the footer content pages (figure 6.3). Instructions are provided here: Footer menus
Related resources
SBO :
Front :
Last updated
Was this helpful?